
Tutorial on how to use Secure ID
🎥 Watch: [Quick Start Guide](#TODO LINK)
1. Beta Invitation
Secure ID is currently in closed beta.
To get an invite join our mailing list.
Already received an invite email from us? If yes then you can already complete sign up.
2. Create your account
- Go to the sign up page
- Click through the flow and enter your name and primary email address
- You will receive a verification mail at your primary email address
- Can't see it? Check your spam folder
- Then create a passkey following the system prompts
- Everyone will get slightly different prompts depending on the OS/browser they use.
- To start we recommend creating a platform key using either Google, Apple, Microsoft or a password manager you trust.
- More info on passkeys and platform keys
- Important If this is your first time creating a passkey using this password manager/hardware key then your system may ask you to set a pin code. This pin is not set or stored by Secure ID, rather it's the pin of your password manager/hardware key and should be stored safely. We cannot help you recover it.
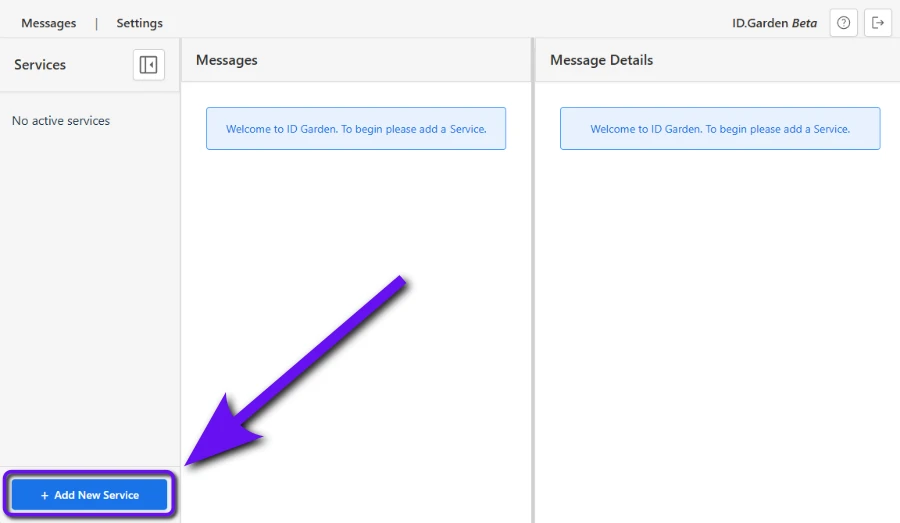
3. Create an inbox
- Once the main dashboard has loaded press 'Add a Service' button in the bottom left
- Enter the name of the third party service e.g. 'facebook'
- If it's one of our preconfigured services the interface will offer a list
- But if the service doesn't appear in the list no problem, press 'define new service'
- Press 'Create Service' button
Note in future our browser agent will allow you to generate an email address and inbox from the sign up page of a third party service.
4. Give the generated email to the third party service provider
- The new inbox is now setup. You can see the generated email anytime by selecting the service in the dashboard.
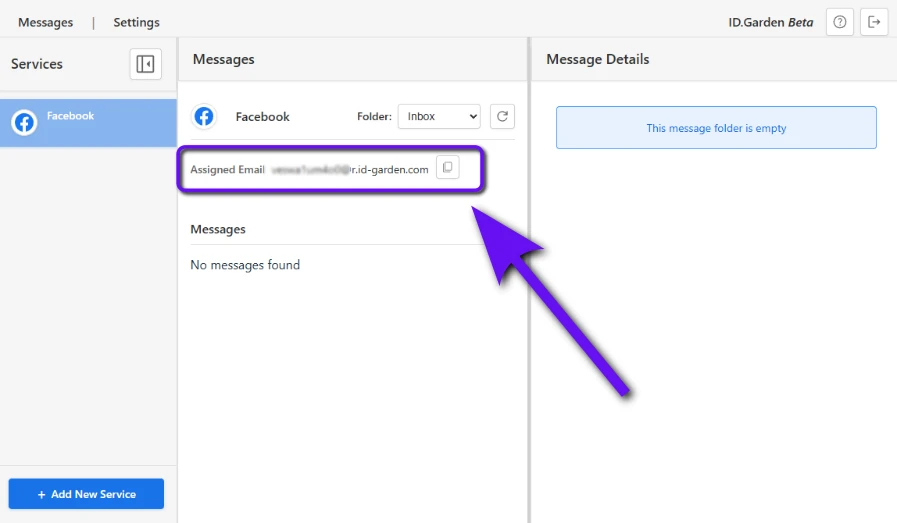
- There is a small button to the right of the email address that will copy it to the clipboard
- Now you can use this email address to sign up to a third party service, or change the email address attached to an existing third party service in their account settings.
5. Receive and read your first mail
- Incoming mail should usually appear within 60 seconds of being dispatched by the sender
Congratulations, you now have your first Secure ID email address setup and working.
Issues?